Building a minimum viable product (MVP) is a critical step for businesses and startups aiming to bring innovative ideas to the market with minimal risk and cost. An MVP is a streamlined version of a product that includes only the essential features necessary to solve a problem and validate demand. This comprehensive guide will provide you with step-by-step insights on how to build an MVP, from conceptualization to launch, enabling you to start on a solid foundation.
How to Build an MVP: The Initial Steps
When you’re learning how to build an MVP, understanding the purpose and principles of an MVP is crucial. The goal is not to create a polished product but to develop something functional enough to showcase the core idea, gather feedback, and validate interest. This approach helps businesses avoid investing too heavily in a concept before knowing whether it has a real market fit.
Step 1: Identify the Problem and Define Your Vision
The journey begins with identifying a clear problem that your product will solve. Conduct thorough research to understand the needs of your target audience. Analyze competitors to find gaps in existing solutions and pinpoint the unique value your product can bring to users. A focused problem statement will guide the entire MVP process, ensuring your team remains aligned on what needs to be developed first.
Your vision should also outline the long-term goals for the product and help you establish a roadmap. Think of the MVP as the first milestone on this roadmap, with a specific focus on the primary problem-solving features.
Step 2: Prioritize Core Features
With a clear problem and vision in mind, the next step is to determine the core features of your minimum viable product. Write down all the features you envision for the final product and prioritize them according to their importance in solving the primary problem. The MVP should only include the essentials to convey the product’s main functionality effectively.
For instance, if you are developing a fitness app, focus on basic features such as tracking workouts, setting fitness goals, and viewing progress. Avoid adding non-essential elements like social sharing or advanced analytics until you have a validated core concept. Simplifying the MVP enables you to build faster, reduce costs, and focus on gathering meaningful feedback.
Step 3: Validate the Idea through Market Research
Validation is critical in the MVP development services process. It helps you confirm if there is enough demand for your product. Start by creating a prototype or a wireframe and sharing it with a sample of your target audience. Conduct surveys, interviews, and focus groups to gather user opinions on the proposed features and interface. This user-centric feedback provides valuable insights that refine your MVP.
Additionally, studying competitors can reveal market trends and pain points that your MVP could uniquely address. Your aim is to ensure that your solution offers distinct value, helping it stand out in a crowded market.
Step 4: Develop a Prototype
A prototype serves as a visual representation of your MVP’s core features and layout. Using prototyping tools like Figma, Adobe XD, or Sketch, you can create interactive mockups that demonstrate the MVP’s basic flow and functionality. The purpose here is to show potential users and stakeholders what the MVP will look like and gather preliminary feedback before entering full development.
Prototyping also allows you to make quick adjustments based on input without heavy investment in coding. Keep your design straightforward, focusing on usability and clarity to ensure the main purpose of the MVP remains evident.
Step 5: Building the MVP
With a validated prototype, you are ready to build the actual MVP. Begin by selecting the appropriate technology stack, considering factors such as scalability, cost, and team expertise. If your team lacks certain technical skills, it’s wise to seek MVP development services to assist with the build. These services provide specialized knowledge to help create a functional, reliable MVP with the capacity for future expansion.
During development, stay flexible. Avoid complex coding structures, as the MVP will likely go through multiple iterations. Regular testing throughout development is essential to maintain quality, usability, and consistency.
Read More: How to Mobile App API Testing: A Comprehensive Guide
Step 6: Launch and Test Your MVP
Once the MVP is developed, launch it to a controlled group of users. A limited release allows you to monitor how users interact with the product, gain feedback, and identify areas for improvement without overloading your team with extensive support requirements. This initial group provides invaluable insights that help you fine-tune the MVP for a larger audience.
Make sure you provide users with an easy way to submit feedback. Setting up analytics to track user behavior can also offer data-driven insights, helping you understand how people are using the product and which features are most engaging.
Step 7: Analyze Feedback and Iterate
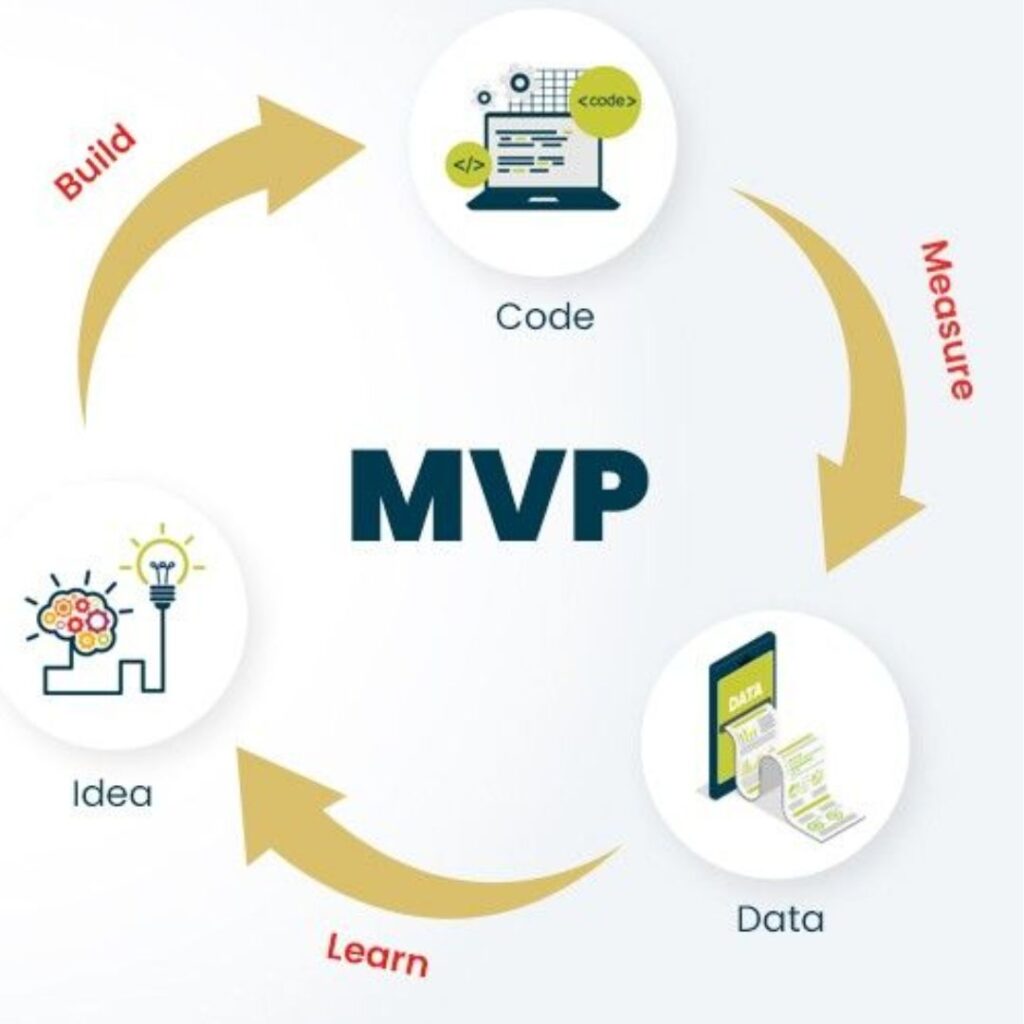
After the launch, it’s time to analyze user feedback and refine your MVP. Focus on understanding user behavior, feature preferences, and any pain points they experience. Track metrics such as engagement, retention, and conversion rates to measure the MVP’s performance and assess product-market fit.
Iteration is a central concept in the MVP methodology. Use insights from the initial user feedback to adjust the MVP and improve the user experience. This iterative approach enables you to gradually build a product that aligns closely with users’ needs, minimizing the risk of straying from your original vision.
Step 8: Plan for Scaling and Future Development
Once the MVP has shown success with a smaller user base, begin planning for scaling. This process involves refining the codebase, enhancing user support, and adding secondary features based on feedback. Now that you have an established audience, you can invest more confidently in expanding the product’s capabilities.
Choosing the right time to scale is critical. Only begin scaling once the MVP has demonstrated sufficient product-market fit and gained a solid user base. Working with a team that offers MVP development services can be particularly beneficial here, as they bring the expertise needed to handle scaling smoothly.
FAQs
What is the purpose of building a minimum viable product?
The purpose of an MVP is to test your product idea in the real world with minimal risk and investment. It allows you to validate key features with actual users and adjust the product based on feedback, ensuring that you build something that resonates with the market.
How do MVP development services support the MVP process?
MVP development services provide specialized resources and expertise in building an MVP quickly and efficiently. These services assist with prototyping, feature prioritization, technology selection, and development, helping you bring your idea to market without requiring an extensive in-house team.
How long does it take to build an MVP?
The timeline depends on the complexity of the product and the team’s resources. Generally, an MVP can take anywhere from a few weeks to several months to develop, depending on the scope of features and the technology used.
How do you measure the success of an MVP?
Success is typically measured by metrics like user engagement, retention, conversion rates, and user feedback. These metrics indicate whether the MVP is meeting its objectives and provide insights for improvement.

 Software Development
 Food Delivery
 Taxi Booking
 E-Commerce
 Real Estate
 Healthcare


